4th of April 2004
Made one of two seats. Started checking for fit and mounted the dash panel.
|
|
1. Paint gelcoat.
|
|
2. Closeup of gelcoat. It doesn't matter that there are small runnings and an uneven surface.
|
|
3. Wait an hour. Then put the fibres and resin on. This is what it looks like after two layers of 600g roving.
|
|
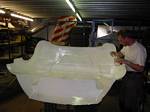
4. Here's the rear clamshell being made for the racecar a friend of mine is building. It's the rear of an Vauxhaull VX220 / Opel Speedster.
|

|
5. It took about two hours to paint gelcoat on the whole clamshell.
|
|
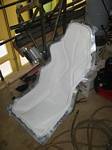
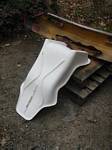
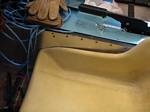
6. Here's the seat, just fresh out of the mould and the edges trimmed off. The parts where there's no white gelcoat, is where I've managed to "miss" and make a bubble between the gelcoat and the fibreglass. No big deal, just spackle this up before painting it.
|
|
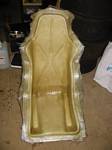
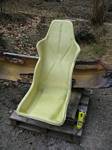
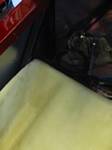
7. From the front.
|
|
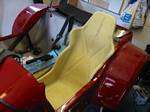
8. In the passenger seat (yes it fits).
|
|
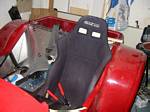
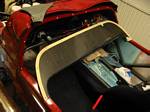
9. In the drivers side. Yes it fits here too, but it's much tighter.
|
|
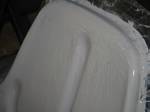
10. Very tight here at the front. Doesn't matter that I had to cut a lot of the edge away here as this isn't a critical part of the seat stability-wise.
|
|
11. The left side of the front of the seat. Also very very tight.
|
|
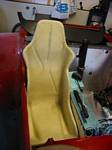
12. Put the cover on so I could handle it without cutting my hands on the rough edges.
|
|
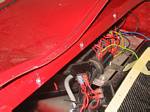
13. Drilled holes through carbon fibre dash and made holes in the scuttle.
|
|
14. Holes, holes and more holes :)
|
|