7th of December 2003
Gearbox mount, propshaft and propshaft loop.
|
|
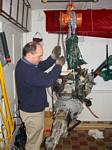
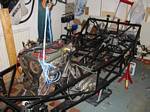
1. Hoisting the engine and transmission to put into the car for the
umpteenth time... (btw, that's not me) |
|
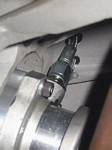
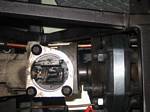
2. Clutch slave cylinder.
|
|
3. Another view, slave cylinder with the hydraulic lines attached.
|
|
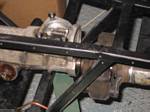
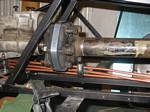
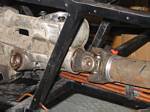
5. Propshaft looks looks good, aligned height and everything and it seems to fit.
|
|
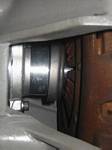
6. Yep, tight, but workable.
|
|
4. Engine is in.
|

|
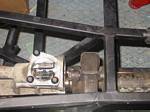
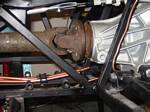
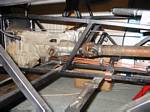
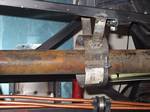
7. Here's another view. This time, I've also set the transmission aligned not only in height, but sideways and I just now realise that it won't fit. It's too tight on the right side of the transmission tunnel.
|
|
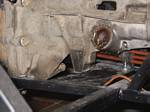
8. Yep, too tight.
|
|
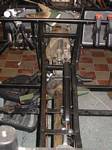
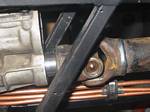
9. A view so you can see how far on the side the propshaft and gearbox really is, the center tunnel is about 15mm towards the drivers side.
|
|
10. Another angle.
|
|
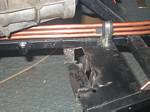
11. The back end seems to fit alright though. :-/
|
|
12. A view from the top, showing distance to the transmission tunnel support.
|
|
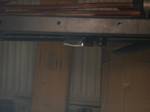
13. Another lengthwise shot.
|
|
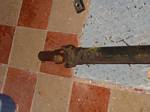
14. Here's the new propshaft, ready to get cut up...I had to scrap the first one.
|
|
15. Nice and rusty, but salvageable.
|
|
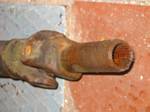
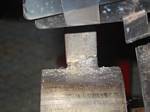
16. Here it is, 4 working hours later when it's been cut up, the U-joint has been lathed and the whole thing pushed together a little. It's just a hair too long. That can be fixed.
|
|
17. Yep, a little long. Will take off 10mm.
|

|
18. Here's what was cut out :-)
|
|
19. Prop shaft shortened and welded. It has the right length now!!
|
|
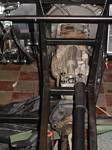
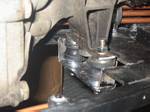
20. Now it's time to make the gearbox mount.
|
|
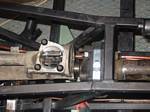
21. Here's the solution halfway. The bottom plate has just been dropped down about 25mm.
|
|
22. Here's how much it sticks out below, it's only 3-4mm in total. I'm not worried about that.
|
|
23. Here's the rest of the mount, just a bar across and two rubber dampeners. That ought to do it. Camera really doesn't lie about the quality of my welds...I only made them with the cheapest kind of MIG-welder, but for this kind of work where it's not structural, it doesn't matter all that much.
|
|
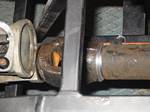
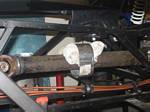
24. Here's another view of the propshaft and it's professionally welded joint.
|
|
25. Position of gear lever.
|
|
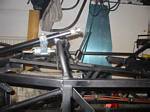
26. Time to make the prop shaft loop.
|
|
27. Here it is, half an hour later, welded and done.
|
|
28. Weld quality leaves something to be desired...Looking at it now,
a few hours later, I realise I have to re-do this part. Oh well, just
chalk up a few more hours work - no problemo... |
|
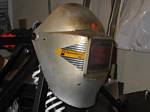
29. This kind of thing really helps when you're welding.
|
|
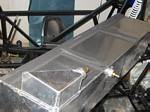
30. Just to finish things off, I mounted rubber isolators on the aluminium tank. These are 6mm thick rubber strips with double sided tape on one side. Just clean off the aluminium with white spirit or something degreasing and stick them on. Next project is making the straps to hold it in place.
|