4th and 5th of September 2003
Rear driveshafts mounted and fuel lines mounted and space for clutch for is found to be small so conversion to hydraulic clutch is a must.
|
|
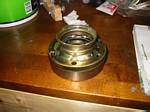
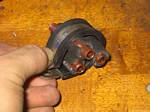
Had to "bang" that dirt shield onto the cv-joint as there was 0.3mm difference in diameter between the shield and the joint. Also put some silicone inbetween to really make sure it seals well.
|
|
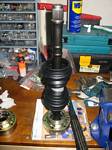
Before putting the other joint on, make sure you have both rubber boots and metal straps inbetween as they are kind of hard to get on otherwise. And NO, I did do it right the first time on both driveshafts actually.
|
|
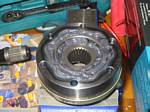
Put lots of grease in there. The more the merrier. This gray grease is some kind of special grease for just this. It arrived in huge tubes together with the CV-joints so I used it all.
|
|
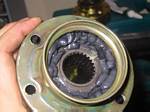
Fill it right up.
|
|
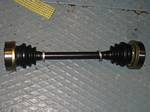
Here's a complete driveshaft. Looks nice, let's hope it stays that nice.
|
|
Mounted one driveshaft.
|
|
Beginning install of fuel lines. I will have three - one fill line, one return and one breather vent line. Three in all.
|
|
One way of mounting them quite solidly. You don't want them touching each other as the rubbing could possibly wear a hole and we don't want gasoline spilling all over a hot exhaust or something like that.
|
|
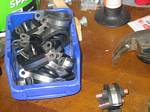
I have stocked up on a lot of clamps. Some will also get used to secure the electric wiring.
|
|
Position of gearlever without extension. Won't need that as far as I can see at this point.
|
|
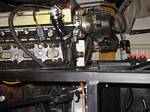
Position of engine - it really is quite far back. There's no more room now to move it back without making serious mods to the chassis, so this is as good as it gets.
|

|
Mounted two aluminium panels on the passenger footwell in preparation for fuel line mounting.
|
|
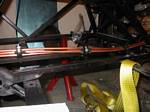
Fuel lines mounted and engine is back in to test for clearance.
|
|
Looks quite neat and I have placed the mounts not further than about 250mm from each other.
|
|
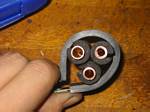
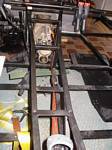
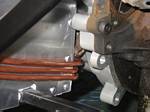
Here the hard lines will connect to rubber lines as it is too much work to make these hard ones fit. This is at the back right under the rear differential.
|
|
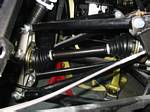
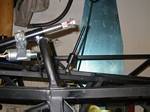
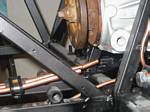
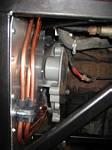
Fuel lines at the front, wrapping around the passenger footwell. Clearance is very tight with the clutch fork which has to go. I now have a good reason to upgrade to a hydraulic clutch mounted inside the bellhousing. This gives extra room right here.
|
|
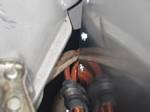
From the other side of the same position - the fuel lines wrapping around the passenger footwell.
|
|
Another view. Engine is as close as possible to the firewall/footwell to maximise weight distribution.
|