End of August to mid-September 2003
10hrs of work to finish the plug for glassfibre seats, sourcing a gearbox (not always easy), springs and dampers and beginning to look at getting the engine into the car and finishing getting the driveline into place.
|
|
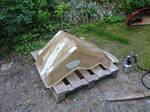
1.Plug for glassfibre racing seat. This is actually my old seat that I have made narrower by cutting out about one inch from the middle and then putting it together again. The seat was made by a mould "from behind", whichmeans I have to make the same kind of mould to make good copies. However, the maker of this specific seat was probably either 1) drunk or 2) very inattentive, as it is full of small pockets of air as well as pores. All these have to be filled so filler, sanding, filling, sanding etc . This is after the first stage, where I have filled the holes from the seat belts.
|

|
2. This is the surface - very many small holes and pores.
|
|
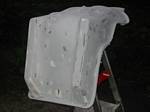
3. This is after I have used a "spray-filler" which has helped to fill many of the pores, but not the big ones and so I guess about half of them have filled. This picture after I have sanded it.
|
|
4. After sanding, I marked all the pores and then used more spackle to fill each pore that was left. phew. After this a light sanding and then it's off the get sprayed with a hard lacquer to give a smooth surface. At this stage, I have put down maybe 10hrs of work on it.
|
|
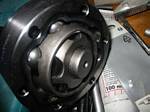
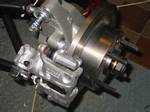
5. Started looking at driveshaft installation. Bought some CV-joints.
|
|
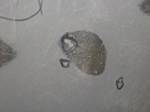
6. Here they are.
|
|
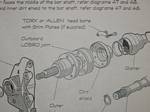
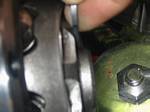
7. Need a thin lock-ring.
|
|
8. The one that came with the joints is too thick...
|
|
9. Also realised I don't have the "dirt shield"...grr. Ordered those from Westfield as the local Ford dealer didn't have any that fit. Very strange....
|
|
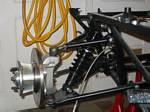
10. Mounted rear brake calipers.
|
|
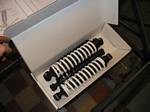
11. Springs and dampers have arrived!!
|
|
12. Front suspension now complete
|
|
13. Rear suspension complete.
|

|
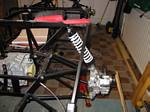
14. Bought a gearbox. I cannot believe how much gunk is on this thing. Took me an hour to clean it up.
|

|
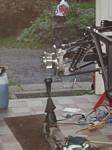
15. Here's how I got it home.
|
|
16. What's wrong with this picture...uh, notice two gearboxes. Yep. Had to return the original one because it was simply worn out (next pics will show why). The wrecker didn't want to have the old one back so I kept it as a spare.
|
|
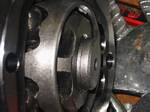
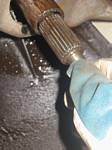
17. This is how far out the input shaft goes on the "worn out" gearbox.
|
|
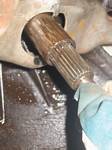
18. This is how far it goes in...must be 5mm of play at least. As well as a chunky meaty clunk when pulling it back and forth...
|

|
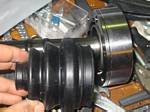
19. Motormounts also arrived.
|

|
20. Here's my intended rubber mounts.
|